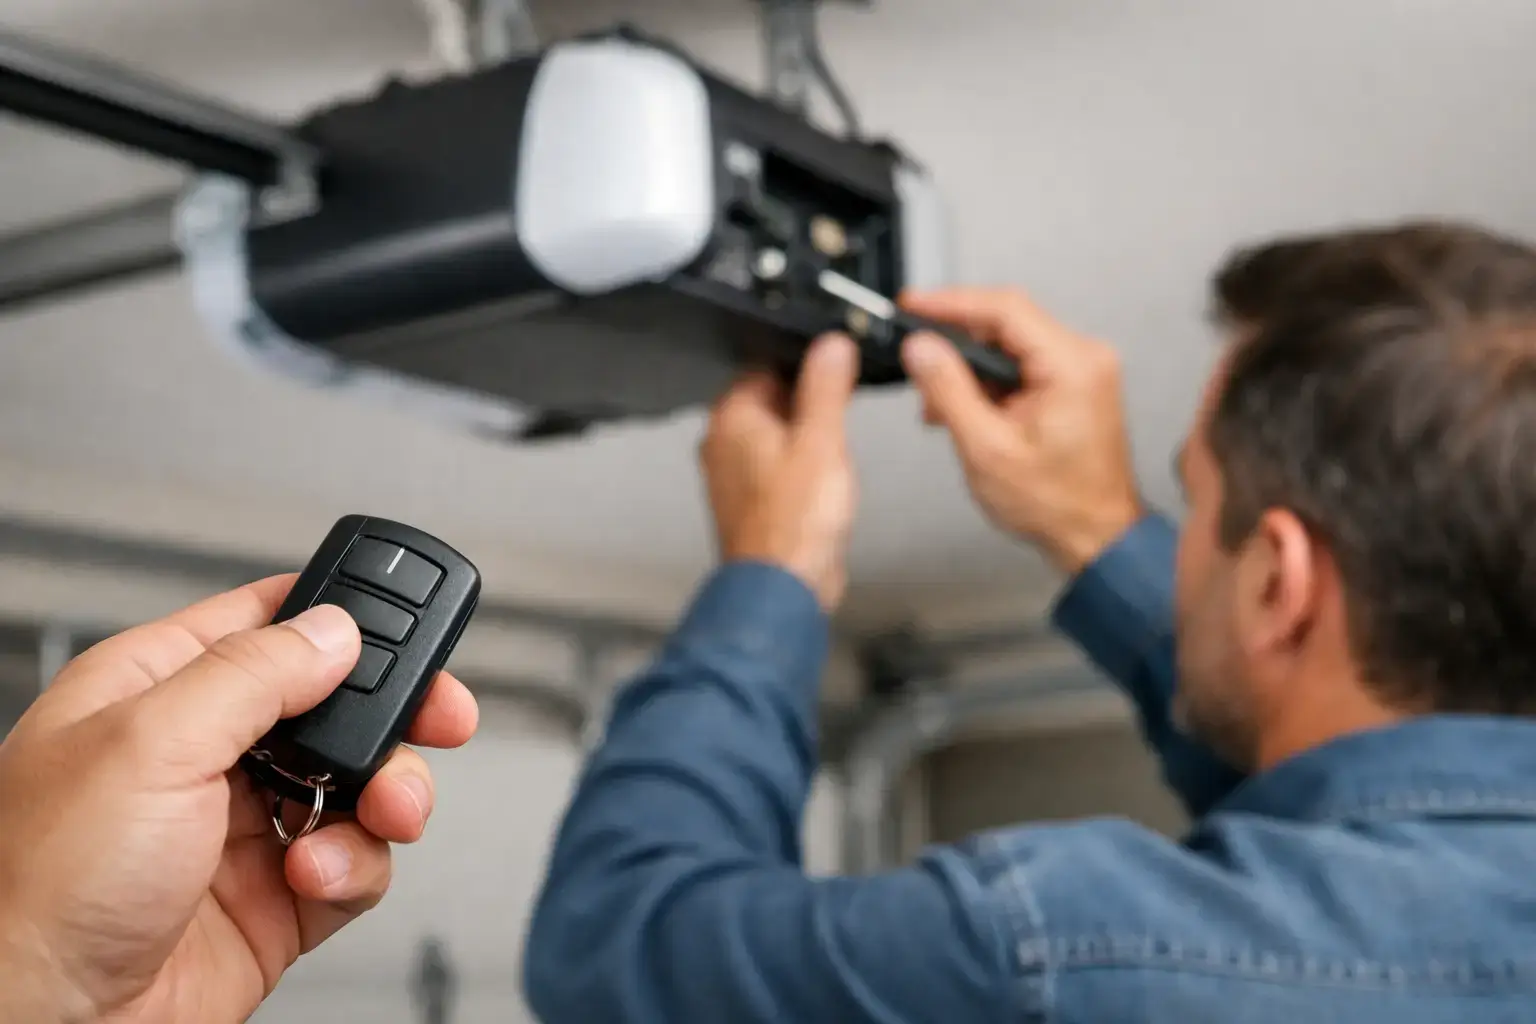
A remote that suddenly stops opening the garage can turn an ordinary morning into a security and access problem. Knowing how to program garage remote controls can save time when you have a new opener, a replacement transmitter, or a battery change that did not solve the issue. The process is usually straightforward, but the correct steps depend on the age and brand of your opener.
Before pressing buttons at random, make sure the garage door is fully closed and the area around it is clear. A door that reverses, hangs unevenly, or moves unpredictably has a mechanical problem that programming will not fix. In that case, stop using the door until it has been inspected.
How to Program Garage Remote Controls With a Learn Button
Most garage door openers installed in Greater Boston homes during the last two decades use a rolling-code system. Instead of relying on one permanent signal, the opener and remote create a new security code after each use. This helps prevent unauthorized access, but it means a new remote must be paired directly with the opener.
Start by locating the opener motor unit, which is mounted on the ceiling near the center of the garage. You may need a stable step ladder to reach it. Do not stand on a vehicle, storage bin, or chair. Look for a small button labeled “Learn,” “Program,” “Set,” or “Smart.” It is often near the antenna wire, under a light cover, or behind a small access panel.
The color of the learn button can help identify the system, especially on older units. Yellow, purple, red, orange, green, and black buttons may use different remotes and programming sequences. That is why a remote that looks similar to yours is not automatically compatible.
Once you have found the learn button, use this basic pairing process:
- Press and release the learn button on the opener. A small indicator light may illuminate or begin blinking.
- Within about 30 seconds, press and hold the button on the remote you want to program.
- Release the remote button when the opener lights flash, click, or you hear the motor unit respond.
- Test the remote from outside the garage door’s path after the door has completely stopped moving.
On some models, you only need to press the remote button once. Others require a press, release, and second press before the opener confirms the pairing. If the light on the opener goes out before you complete the process, simply start again.
Check the Remote Before Assuming Programming Failed
A remote that will not pair may have a simple power or compatibility issue. First, replace the battery with the correct type and make sure it is installed in the right direction. A weak battery can still light up a small LED on the remote while failing to send a strong enough signal to the opener.
Next, confirm that the remote is designed for your opener. Universal remotes can work well, but only when they support your opener’s manufacturer, frequency, and security system. Older openers may use DIP switches instead of a learn button. These are small rows of switches inside both the opener and remote that must be set to the exact same pattern.
If the wall button operates the door but the remote does not, the opener itself may be working properly. If neither the wall button nor the remote works, check whether the opener has power, whether its circuit breaker has tripped, and whether the unit has been unplugged. A flashing opener light or a diagnostic code can also point to a sensor, logic board, or motor issue rather than a remote problem.
Programming a Remote With DIP Switches
Some older garage door openers do not use rolling codes. Instead, they use DIP switches, typically located behind the battery compartment in the remote and on the opener motor unit. You may also find them on an external receiver.
Unplug the opener before opening any panels around the motor unit. Find the switches and compare their positions carefully. Each switch may be set to up or down, or occasionally to a middle position. Set the switches in the replacement remote to match the opener exactly, then reinstall the battery and test the remote.
This system is simple, but it is less secure than a modern rolling-code opener. If your older opener has unreliable operation, no safety reversal protection, or remotes that are hard to replace, an opener upgrade may be the safer long-term choice.
How to Program a Garage Remote From a Car
Many vehicles have built-in remote systems in the visor, overhead console, or rearview mirror. These systems often require two separate steps: first copying the signal from an existing hand-held remote, then syncing the vehicle to the opener’s rolling-code receiver.
Begin with the vehicle parked outside the garage. Hold the existing working remote close to the vehicle’s built-in buttons, then press the selected vehicle button and the hand-held remote button as directed by the vehicle manufacturer. The indicator light should change its flash pattern once it captures the signal.
For a rolling-code opener, go back to the motor unit and press its learn button. Return to the vehicle within the programming window and press the newly programmed vehicle button for a few seconds. You may need to repeat that press two or three times until the opener responds.
Vehicle programming can be frustrating because instructions vary by make, model, and year. If you no longer have a working hand-held remote, you may need to program the vehicle directly through the opener’s learn button. The owner’s manual for both the vehicle and opener can clarify the required sequence.
Avoid These Common Programming Mistakes
The most common mistake is holding the opener’s learn button for too long. On many units, holding it for roughly six to 10 seconds erases every programmed remote and keypad. This can be useful after a remote is lost, after moving into a new home, or when access needs to be removed. It is not the right first step when you are only adding one new remote.
Another mistake is testing a remote while standing under the door. Always move clear before testing. A properly operating door should reverse when it contacts an object in its path and should not close if its photo-eye safety sensors are blocked or misaligned.
Also, do not keep reprogramming a remote when the door is noisy, jerky, or failing to open completely. Programming affects communication between the remote and opener. It does not repair worn springs, frayed cables, damaged rollers, bent tracks, or an opener that is struggling under the door’s weight.
When a Garage Door Technician Is the Better Call
Call for service if the remote programs successfully but the door only opens partway, reverses without warning, makes grinding sounds, or will not close. Those signs can indicate a problem that requires a hands-on inspection. Garage door springs and cables are under high tension and should never be adjusted as a DIY repair.
Professional help also makes sense when a replacement remote will not pair after you have confirmed the battery and compatibility, when several remotes stop working at once, or when you suspect radio interference. A technician can determine whether the problem is the remote, receiver, antenna, safety sensors, wiring, or opener control board.
For homeowners and property managers, Triple A Garage Doors Inc. can inspect the full door and opener system, explain the issue clearly, and provide upfront options for repair or replacement. That matters when the garage is part of your home’s daily entry point, storage security, or business operations.
A programmed remote should be convenient, but it should never be the only safety check on your garage door. Test the door from a clear position, keep remotes away from children, and arrange service promptly if the door itself shows signs of strain or unsafe movement.
Leave A Comment