A garage door that starts down, then reverses before it reaches the floor, is usually trying to tell you something. Learning how to align garage sensors can solve a common issue, but it is also a safety task. Those small photo-eye sensors near the bottom of each track help prevent the door from closing on a person, pet, vehicle, or stored item.
When the sensors cannot see each other clearly, the opener treats the doorway as blocked. The door may refuse to close from the remote, flash the opener lights, or close only when the wall button is held down. Do not bypass that protection. A few careful checks can often restore normal operation, but damaged wiring, loose tracks, or an unreliable door should be inspected by a qualified technician.
What Garage Door Sensors Do
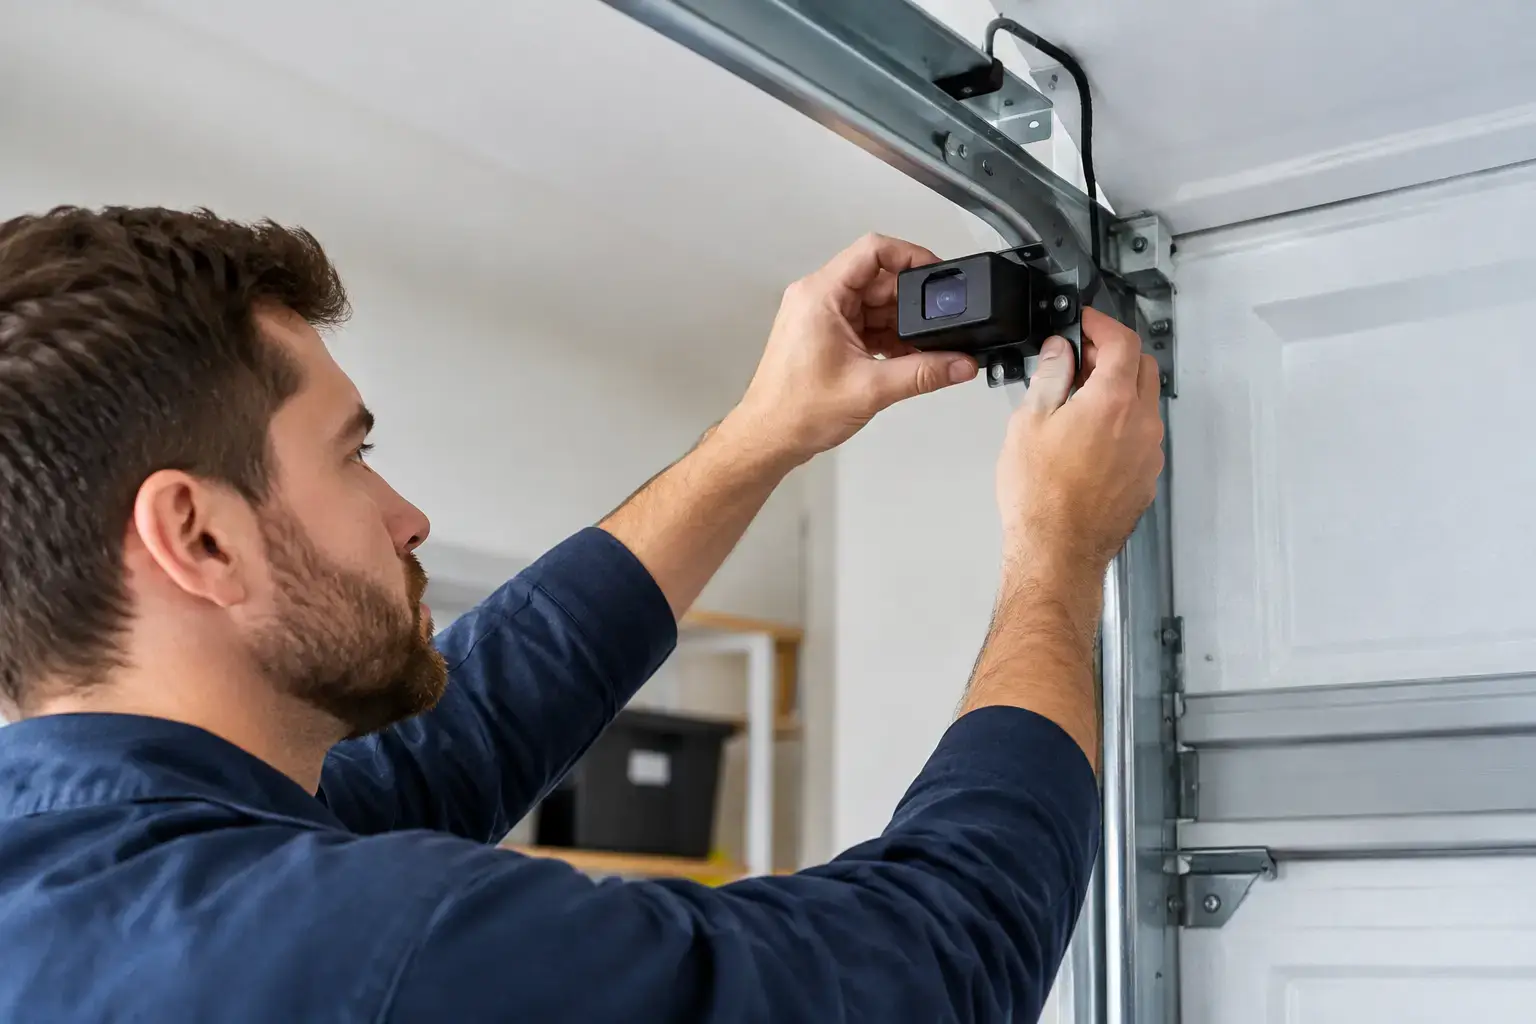
Most automatic garage doors use two photo-eye sensors mounted on opposite sides of the opening, usually 4 to 6 inches above the floor. One sensor sends an invisible beam and the other receives it. When the beam is uninterrupted and both sensors have power, the opener knows the opening is clear.
A broom, trash bin, leaf buildup, spider web, or even a low vehicle bumper can block the beam. So can a sensor that has been bumped by a bike, lawn equipment, snow shovel, or a careless foot. In Greater Boston, wet road salt, melting snow, and garage-floor debris can add to the problem during winter.
Sensor trouble can look like an opener problem, but the two are not always the same. If the door moves normally when you use the wall control and only reverses near the floor, start with the photo eyes. If the door is heavy, crooked, noisy, or will not move at all, stop and arrange a professional inspection. Springs, cables, and moving door hardware are not safe DIY repair items.
How to Align Garage Sensors Step by Step
Before touching the sensors, make sure the door is fully closed. Keep children, pets, and vehicles out of the doorway while you work. Do not stand beneath a moving garage door or try to force it down.
Check for a Simple Obstruction First
Look across the bottom of the garage door opening. Remove any object between the sensors, including leaves, boxes, tools, or packed snow. Then inspect each sensor lens closely. A dirty lens can interrupt the beam just as effectively as a physical obstruction.
Wipe the lenses with a clean, soft cloth. Avoid abrasive pads and harsh cleaners that can scratch the plastic. If the lenses are wet from condensation, dry them completely before testing the door.
Read the Sensor Indicator Lights
Most photo-eye sensors have small LED lights. The exact colors and behavior vary by opener manufacturer, but a steady light commonly means the sensor has power and sees the other side. A blinking, dim, or unlit LED often points to misalignment, dirt, wiring trouble, or a failed sensor.
Check both units. If one light is off entirely, do not assume alignment is the only issue. Look for a loose wire at the sensor, a wire that has pulled away from the wall or track, or visible damage from rodents, moisture, or impact. Never strip, splice, or alter opener wiring unless you are confident in the repair and have disconnected power to the opener.
Straighten the Sensor Brackets
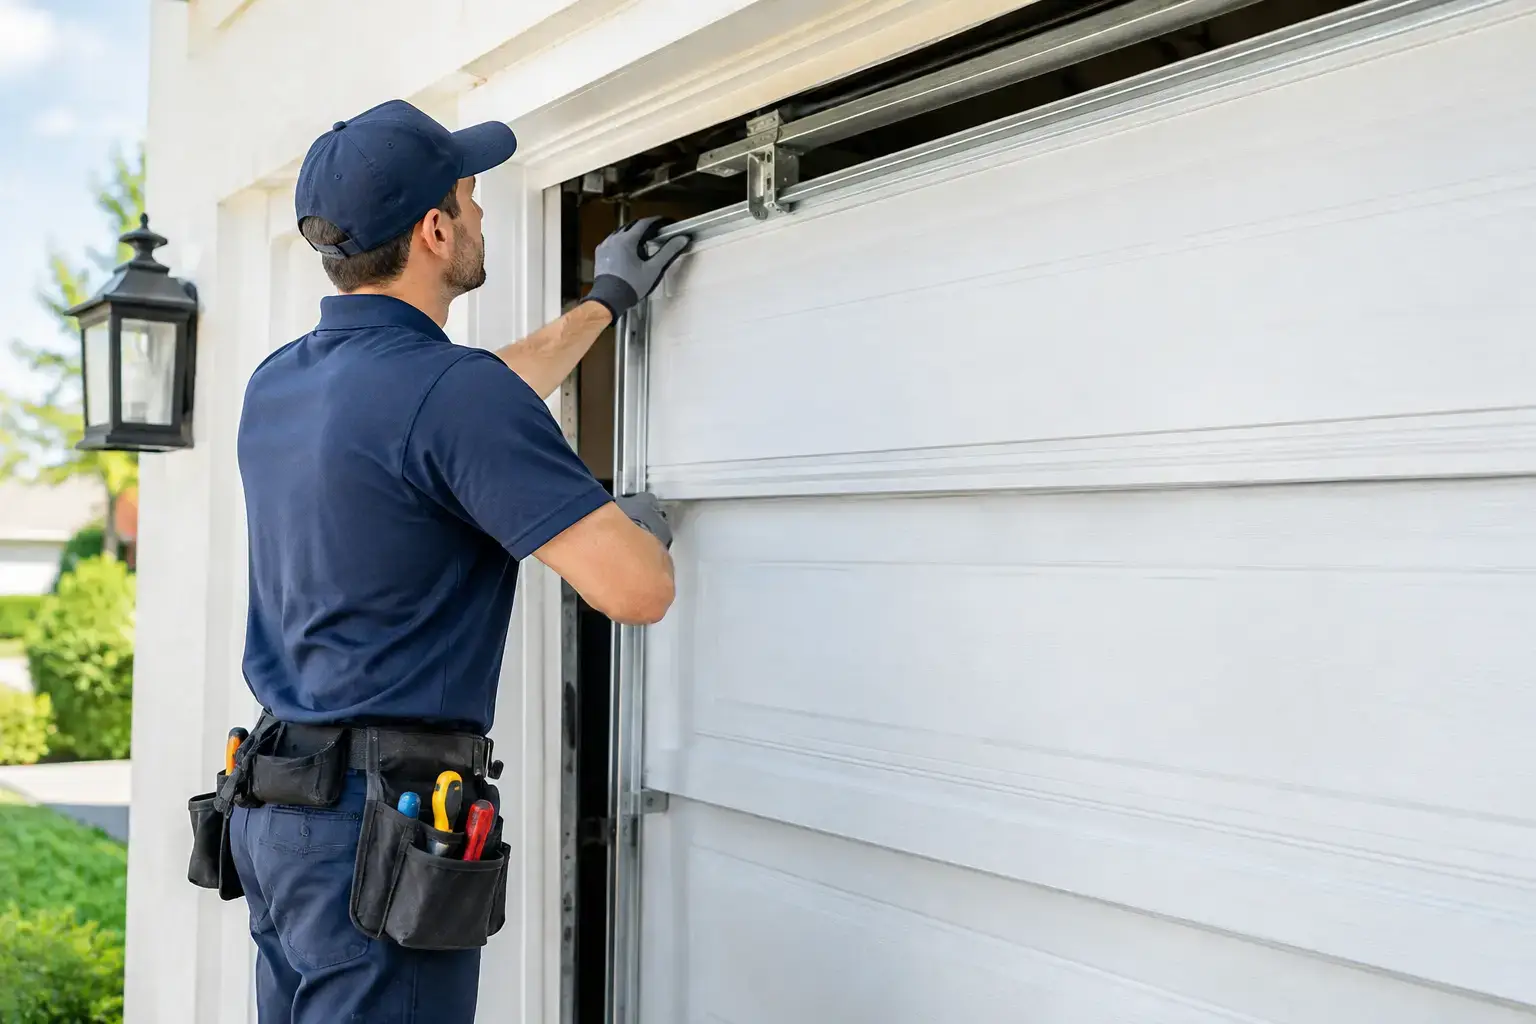
Each sensor sits in a small bracket attached near the bottom of the vertical track. The bracket may be slightly bent, or its mounting hardware may have loosened over time. Gently reposition the sensor so it faces directly across the opening toward the sensor on the opposite side.
The sensors do not have to look perfectly level to the eye, but they do need an unobstructed line of sight. Start by matching their height. Measure from the garage floor to the center of each sensor, or use a small level as a reference. Uneven concrete floors can make measuring from the floor less exact, so focus on getting the two lenses aimed directly at one another.
Loosen the bracket hardware only enough to move the sensor. Do not remove the bracket from the track, and do not bend the track itself. A bent or loose track can affect door operation and needs a more complete diagnosis.
Fine-Tune Until the Light Is Steady
Move one sensor slowly in small increments while watching its indicator light. If you have someone available, ask them to watch the light while you adjust the bracket. Once the LED becomes steady, tighten the hardware carefully so the sensor does not shift back out of position.
If the indicator starts blinking again as you tighten the bracket, the sensor may be moving under pressure. Reposition it, tighten it gradually, and check that the bracket is not cracked or badly bent. A bracket that will not hold its position should be replaced rather than repeatedly forced into place.
Test the Door Safely
Once both sensor lights appear normal, test the door with the remote or wall button. Stand clear of the opening and watch the door complete a full close cycle. If it closes normally, test the safety reversal system by placing a solid object, such as a piece of lumber laid flat, in the doorway beneath the sensor beam. The door should not close through an object that breaks the beam.
Then remove the object and operate the door again. The door should close smoothly without hesitation or reversal. Never use your hand, foot, pet, or vehicle to test the sensors.
Why Sensors Go Out of Alignment Again
A one-time adjustment is normal, especially after an impact. Repeated alignment problems usually mean there is another issue worth addressing. A loose bracket, damaged sensor housing, sagging wire, vibration from an unbalanced door, or track movement can keep pulling the photo eyes out of position.
Pay attention to when the issue happens. If it occurs only in direct afternoon sun, bright sunlight may be interfering with an older or sensitive sensor. If it happens after rain or snow, moisture may be getting into a wire connection or sensor housing. If the problem began after a vehicle bumped the track, the visible sensor may not be the only damaged part.
Do not keep tightening hardware if the track is loose, bent, or separating from the wall. The photo-eye system is only one part of a door that can weigh hundreds of pounds. Safe operation depends on the tracks, rollers, cables, springs, opener, and safety controls working together.
When Sensor Alignment Is Not the Fix
Call for garage door service if both sensor lights are steady but the door still reverses, stops, or will not close. The opener’s close-force setting or travel limit may be incorrect, but door resistance can also trigger the same behavior. A worn roller, damaged panel, failing spring, frayed cable, or binding track may be making the door unsafe to operate.
You should also schedule service if a sensor wire is cut, the sensor housing is cracked, the brackets will not stay in place, or the opener has no response at all. If the door is stuck open and your home, business, equipment, or vehicles are exposed, treat it as an urgent security issue.
For homeowners and property managers, the safest approach is simple: clean and align the photo eyes when the issue is clearly minor, then stop if the door still behaves unpredictably. Triple A Garage Doors Inc. provides clear, in-person diagnosis for sensor, opener, and full door-system problems, so you can address the real cause instead of guessing at a repair.
A properly aligned sensor should disappear into the background of daily life. If yours keeps demanding attention, let that repeat problem be the reason to have the entire door checked before a small interruption becomes a failed door at the worst possible time.